
DIY Landscape Walls: How to Guide
Thinking of plunging into the DIY world and revamping your landscaping this season?

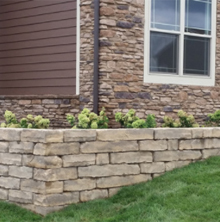

Building your own DIY landscape walls, landscape beds, or raised gardens can sound like an overwhelming project, but with a few tips and a little direction it can actually be very achievable for the handy do it yourself-er type! This guide will help you decide if you are ready to take on the project. Please note that this guide is intended for small non load bearing walls that are no taller than 3 foot in height. Should you need a more structurally engineered wall, please give us a call.
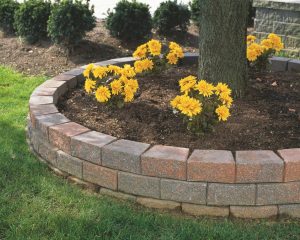
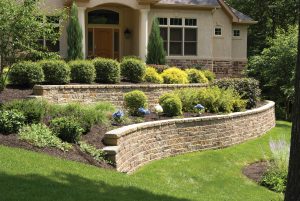
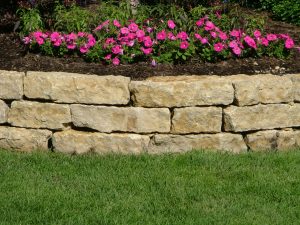
Looking for ideas for your landscaping projects? Please visit our Pinterest page for inspiration! Link>Estes Pinterest
Let’s get to it!
First you will need to decide what material you are using. Versa-Lok or Edington Wall Block Systems or Natural Stone Retaining Wall Stone. (please click the product names to be directed to more info about each product)
How much do you need? Let’s estimate your project!
Natural Stone:
Determine Length____ x Width__________
Calculate: Length x Width x Height = (Cubic Ft.)
Cubic Ft x 140 lbs =_______ /2000 lbs = # of tons needed
- Note this is an estimation of 140 lbs per cubic foot for natural stone. Products will vary, please ask us when ordering.
Wall Block:
Versa-Lok Block 16″ (face) x 14″ (rear) x 12″ D x 6″ H = .667 sq. ft. per block
Edington Block 12″x 8″x 4″ = .333 sq. ft. per block (3 blocks per sq. ft.)
Length x Height = Square Foot
Square Foot /Divided by .667 or .333 = # of block
- Note is some instances it is recommended that you bury 10% of your wall height for structure. This guide is intended for small non load bearing instances, should you need a more structurally engineered wall please give us a call to discuss.
What you will need:
- Small rubber mallet
- Tape measure
- Carpenter’s level
- Marker stakes
- String line
- Pick and Shovel
- Geogrid fabric
- Selected materials
- Stone dust or fill dirt
- For block walls: Block Adhesive
- For block wall: Block Pins
Now let’s get to the work!
DIY Landscape Wall Step by Step Directions:
The following guide demonstrates in illustration the step by step directions used to build a natural stone dry stack wall. The same concept is used to build all types of walls, even for just a few inches tall or for a concrete manufactured block wall. Any differences will be noted in the text directions. This project can be completed by one or two people, with a minimum of supplies and a few basic tools and supplies as listed above. These type of landscape walls will require no footing and again are not intended for structural load bearing walls or for walls over 3 foot in height.
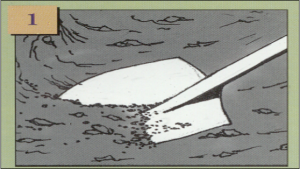
Step 1: Dig a trench about 6″ deep and 4″-6″ wider than your largest stone/block. Level the ground. The base of the wall should be 1.5 times wider than the height. Add 2″ of sand, gravel, or stone dust to promote drainage, and compact the base for stability. Its always a great idea to call before you dig. Please take note to any utility lines that may be in your area before you drive stakes or dig.
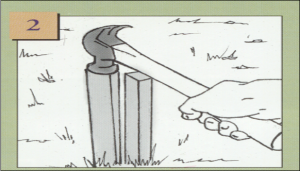
Step 2: Use stakes to mark the front edge of the wall at the wall ends and at any corners or curves. Connect the stakes with string and use as a line level to keep you wall vertically and horizontally level as you continue to build up the wall.
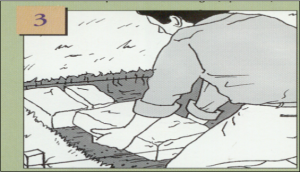
Step 3: Lay the base course. Select the largest and flattest stones and lay them in the trench to create a sturdy foundation. If you are using block they are alike units, just lay your first row. Align the front edges of the stone/block with the string. Put a very slight camber to your wall very slightly sloping your
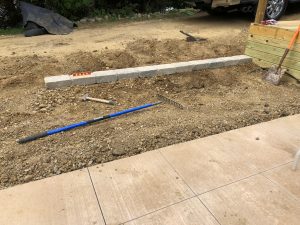
stone/block to the back. Make sure placement of the stone or blocks are steady and secure. Note: with natural stone set aside flat pieces for the wall cap as you sort through the stones.
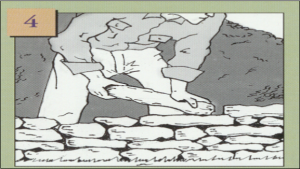
Step 4: Begin stacking the wall working from one end to the other.
When selecting stones, use the flat 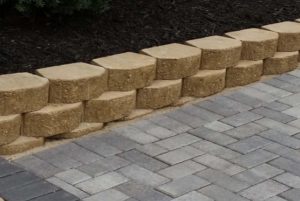 edge facing out and a flat surface facing up. Fill large gaps between the stones with smaller pieces of stone to help prevent soil from washing out behind or beneath the wall. Continue laying stones on top of each other one row at a time alternating stone lengths. Should you need to alter any of your stones, score the stone and use the mallet to knock off any angular pieces to reshape the stone to fit. When using block/stone remember to offset the joints from the layer below by splitting the joints in half with the next layer of stone/block to break up vertical line joints. Each stone/block should be secure and lay in place after setting. When using block, if there is a pin for the block system, be sure to set the pins fully and secure as you go. If any block adhesive is desired, adhere the blocks as you lay them.
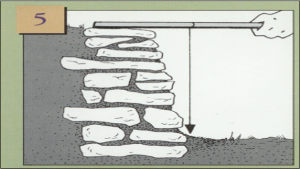
Step 5: Add remaining courses and back fill. As you continue adding courses to the wall, slightly slope the wall to back as you go up and back fill all holes and joints before adding the next layer. When using 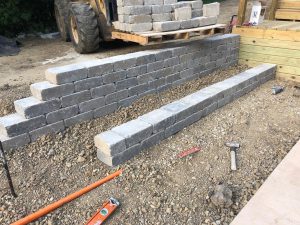 stone, every other course should have a larger stone placed as an anchor as illustrated. Be sure to make sure each course is steady and secure. The top course is considered the cap of the wall. When using stone, use the flatter pieces you held back throughout the process as the top layer and to cap your wall off. When using block, you can order rectangular caps for your project, but you do not have to use them.
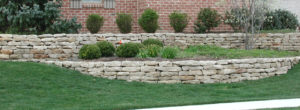
And that’s a wrap!! Once the hard work is finished, clean up your job-site and then kick up your feet and enjoy the fruit of your labor!
Rather you decide to DIY or use a landscape professional, we are happy to assist with your project. Please choose us as your landscape supplier! We stock the highest quality products and have enjoyed supplying Indiana for over 40 years. Our knowledgeable staff would be happy to answer any questions about your project, so please do not hesitate to give us a call. 812-546-6181
Rock On!